
Objective
In this lab, we’ll create a project that contains two source files, main.c and tm4c123gh6pm_startup_ccs_gcc.c, which contain the code to blink an LED on your LaunchPad board. The purpose of this lab is to practice creating projects and getting to know the look and feel of Code Composer Studio. In later labs we’ll examine the code in more detail. So far now, don’t worry about the C code we’ll be using in this lab.
Create a New CCS12 Project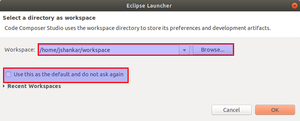
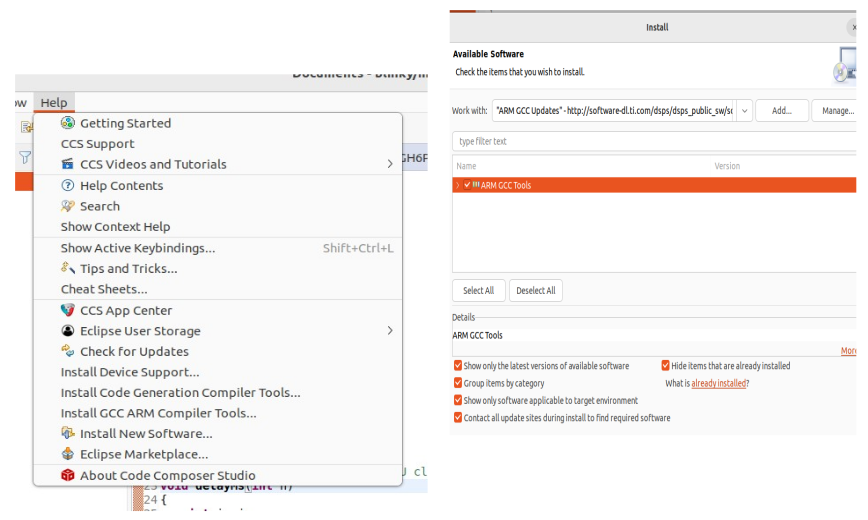
Launch CCS.
Windows
When the “Select a workspace” dialog appears, browse to your My Documents folder:
C:\Users\usrname>\My Documents
Ubuntu
/home/usrname/workspace
Obviously, replace <username> with your own username. The name and location for your workspace isn’t critical. Do not check the “Use this as the default and do not ask again” checkbox. If at some point you accidentally check this box, it can be changed in CCS. Click OK.

Create a New Project
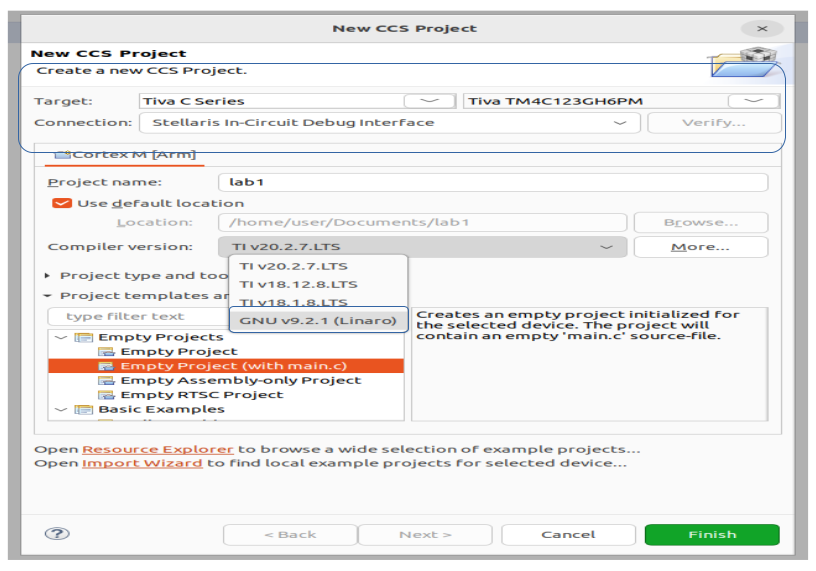
To create a new project, select Project → New CCS Project
► For the project name : lab2► Compiler Version : GNU v6.3.1 (linaro)► Target : Tiva C Series, Tiva TM4C123GH6PM
► For Connection : choose Stellaris In-Circuit Debug Interface.This is the builtin emulator on the LaunchPad board.
► Project templates and examples box : choose Empty Project and Then click
Finish.
Recent Comments