
1. Project Concept:
Here we have designed a scientific calculator to read inputs from a BOOSTXL- K350QVG-S1 Kentec QVGA touch screen and also display the result of the
calculation on it done using TIVA C-series Launchpad.
1.1 Resources
TIVA C Series Microcontroller (TM4C123GH6PM)
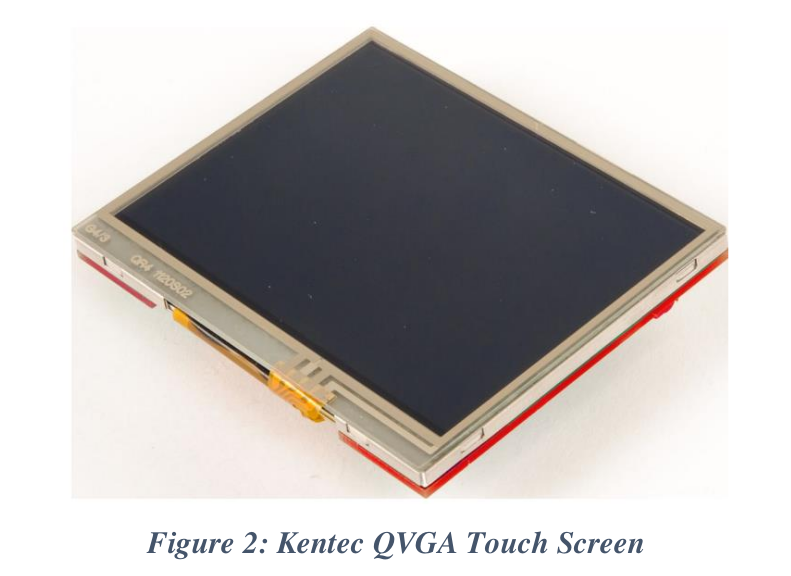
BOOSTXL-K350QVG-S1 Kentec QVGA touch screen.
1.1.1 Component Pictures:

1.2 Key Features:
1.2.1 Tiva C-series lanchpad:
High Performance TM4C123GH6PM MCU:
o 80MHz 32-bit ARM Cortex-M4-based microcontrollers CPU
o 256KB Flash, 32KB SRAM, 2KB EEPROM
o Two Controller Area Network (CAN) modules (requires CAN
transceivers)
o USB 2.0 Host/Device/OTG + PHY
o Dual 12-bit 2MSPS ADCs, motion control PWMs
o 8 UART, 6 I2C, 4 SPI
On-board In-Circuit Debug Interface (ICDI)
USB Micro-B plug to USB-A plug cable
Preloaded RGB quick-start application
1.2.2 BOOSTXL-K350QVG-S1 Kentec QVGA:
• Kentec TFT LCD (part number: K350QVG-V2-F)
o 3.5-inch QVGA (320×240 resolution)
o SPI communication
o 4-wire resistive touch screen
o White LED backlight
• LED backlight driver circuit
• Complies with the Booster Pack standard for use with
20- and 40-pin Launchpad
2. Implementation Details:
Here we are showing the main screen when the calculator is powered on. On this screen as you can see there are various options to choose from.
2. Implementation Details:
Here we are showing the main screen when the calculator is powered on. On this screen as you can see there are various options to choose from.
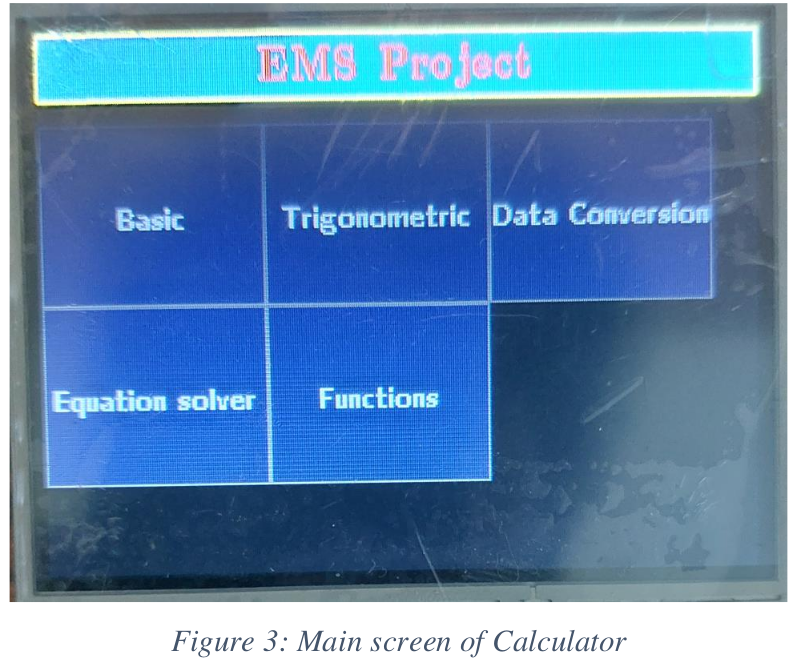
Pressing the required button will take you to your chosen option.
2.1 Basic
Choosing the “Basic” from the main screen takes you to the following screen as shown below.
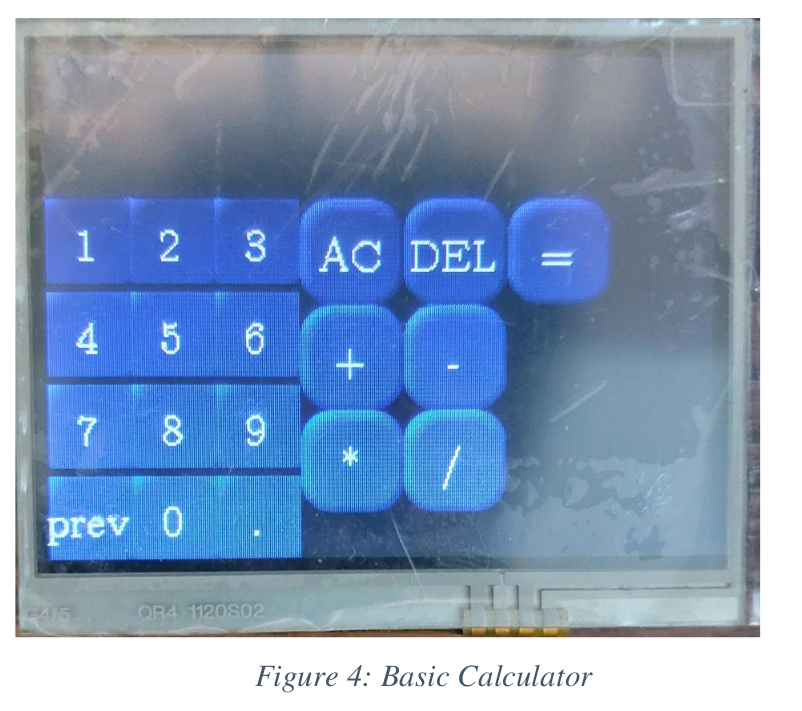
Choosing the “Basic” option takes you to the basic calculator where you can basic the basic arithmetic operations of addition, subtraction, multiplication and
division.
2.2 Trigonometric:
Choosing the “Trigonometric” from the main screen takes you to the following screen as shown below.
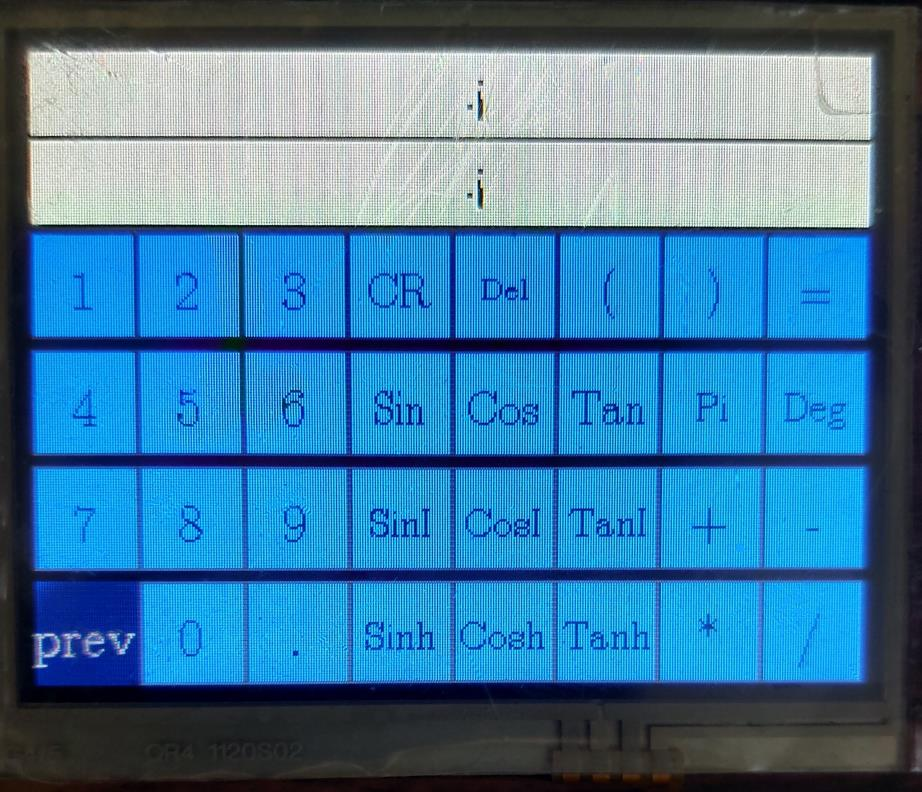
Figure 5: Trigonometric Calculator
Choosing the “Trigonometric” option takes you to the Trigonometric calculator where you can calculate values of trigonometric, inverse trigonometric as well as
hyperbolic trigonometric functions in both degrees as well as in radians.
2.3 Data Conversion:
Choosing the “Data Conversion” from the main screen takes you to the following screen as shown below.
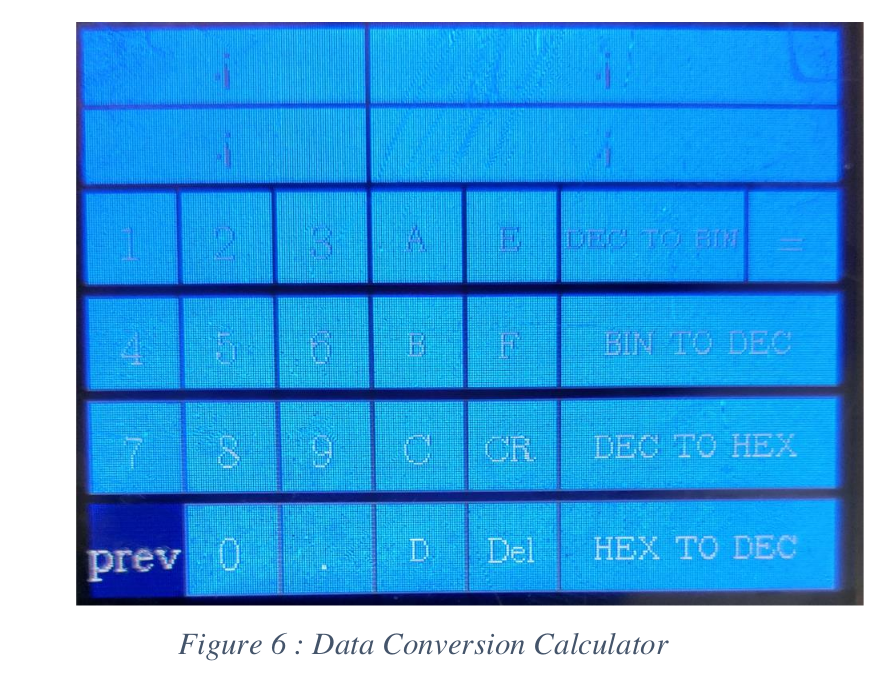
Choosing the “Data Conversion” option takes you to the Data Convertor where you can convert numbers from on base system to another base system. The
conversions which have been implemented here are binary to decimal and vice-versa, and decimal to hexadecimal and vice-versa.
2.4 Equation Solver
Choosing the “Equation Solver” from the main screen takes you to the following screen as shown below.
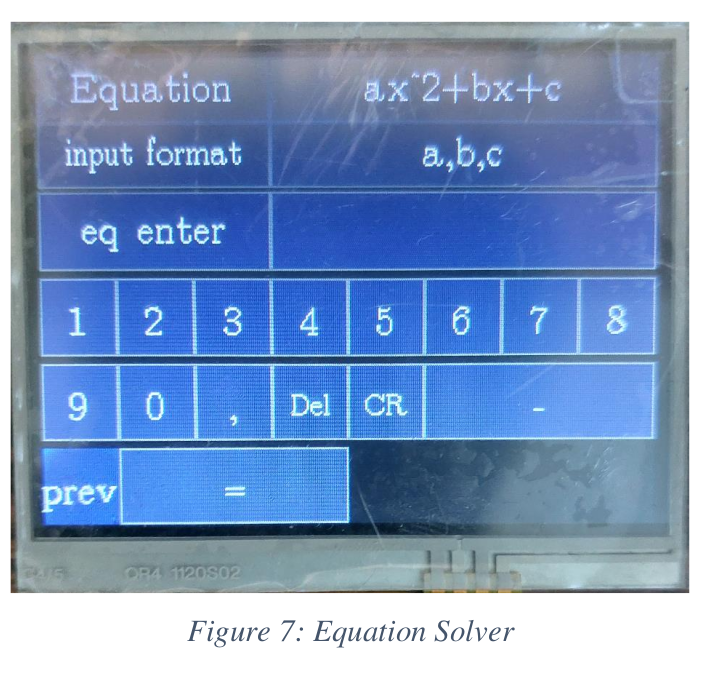
Choosing the “Equation Solver” option takes you to the equation solver screen where you can solve a second order polynomial equation by entering the
coefficients of the equation and its roots are displayed.
2.5 Functions
Choosing the “Functions” from the main screen takes you to the following screen as shown below.
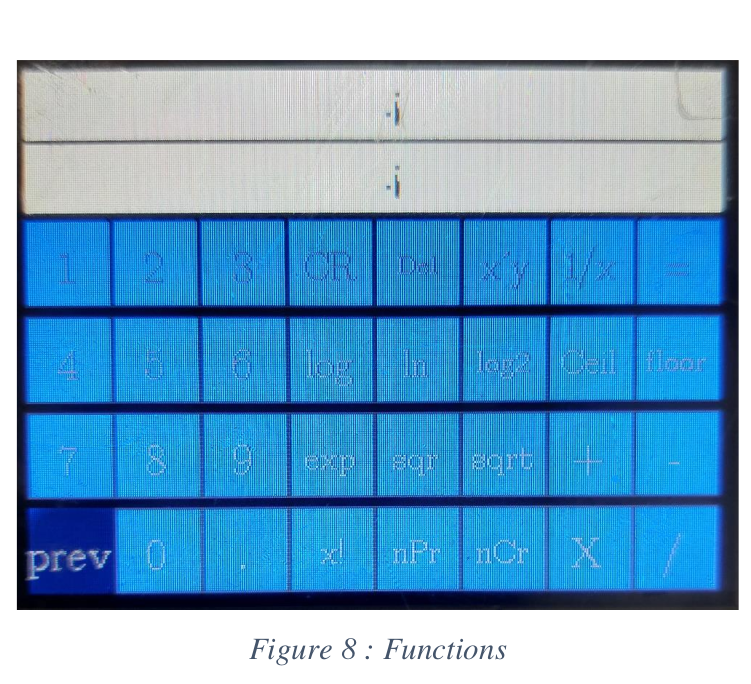
Choosing the “Functions” option takes you to the above screen where you can perform various function on numbers such as logarithm (base e, base 2 and base
10), ceil, floor, exponentiation, finding square and square root, factorial and so
on.
3. Results and Measurements:
Below we show a few examples of the calculations that we have performed on using this calculator.
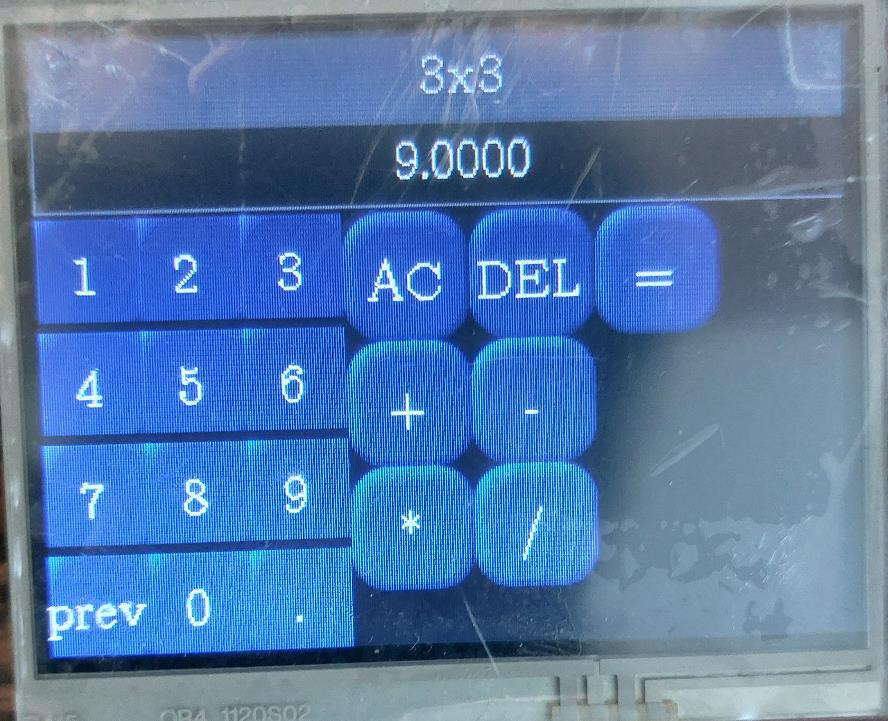
Figure 9 : Basic calculator example
Demo: Scientific Calculator Using Touchscreen
code: Workspace
Recent Comments